0%

Once a survey has been created it is ready to be scheduled and assigned to a shopper. Surveys can be scheduled within a session or manually. To schedule a survey manually:
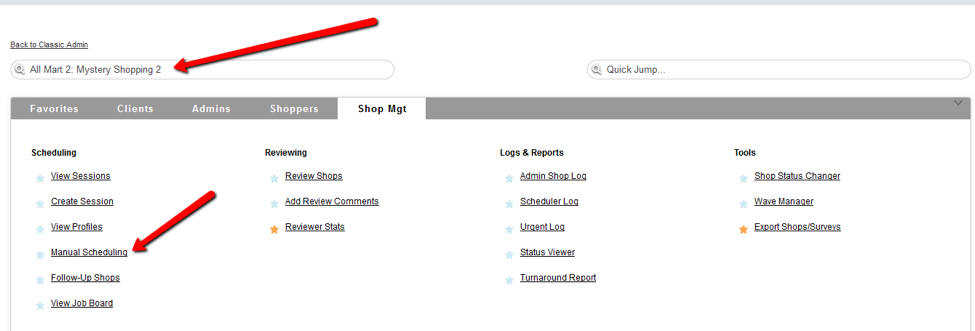
From the Shop Mgt tab, select the Survey Name and then the Manual Scheduling link.
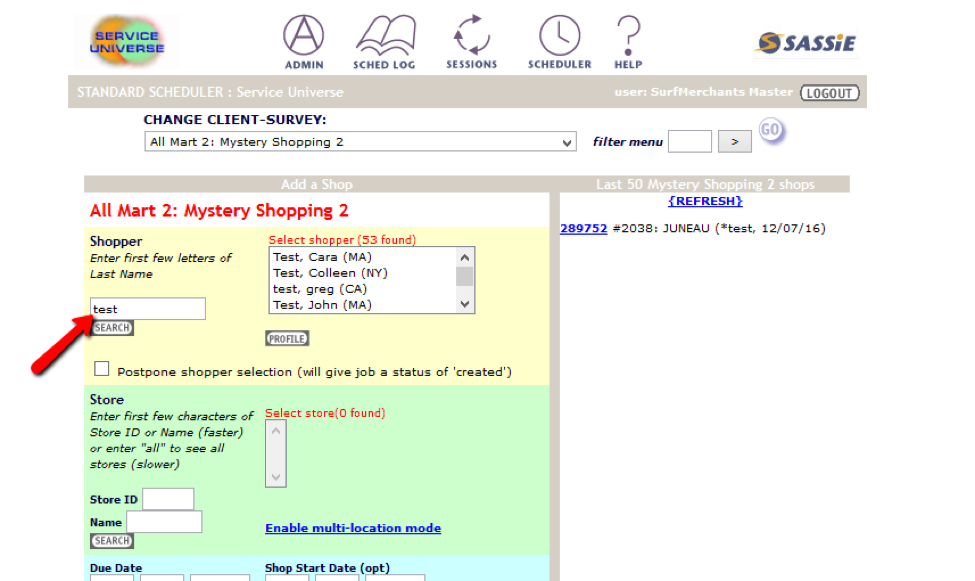
A shopper must be selected. Typing the last few letters of a shoppers name and selecting search will display a list of shoppers whose names match.
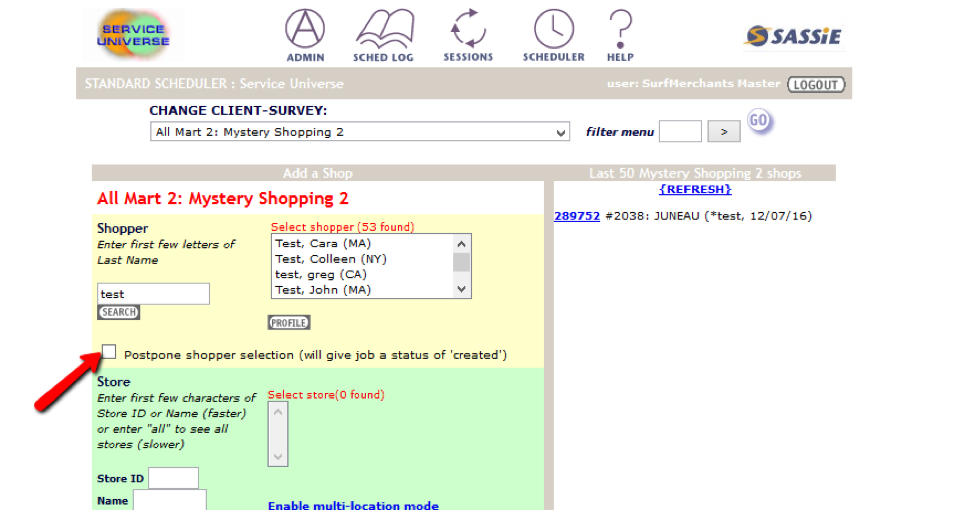
If you are unsure of the shopper to be assigned, you can select “Postpone shopper selection”. The Shop will be put in Created status and can be updated later.
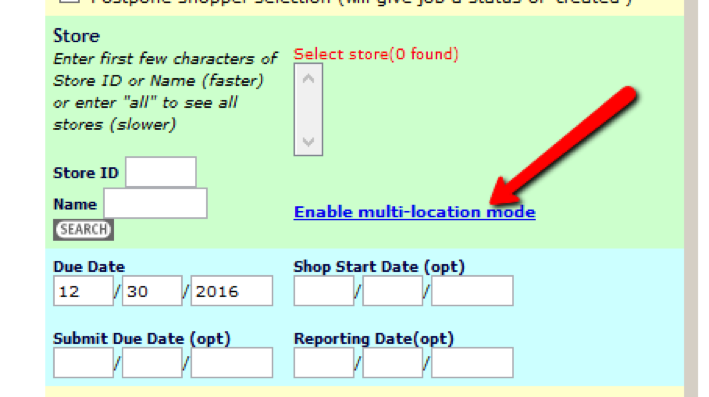
After selecting the Shopper, a location must be selected. You can either enter the first few characters of the Location Name to get a list of possible matches. You can also enter All to see all of the locations.
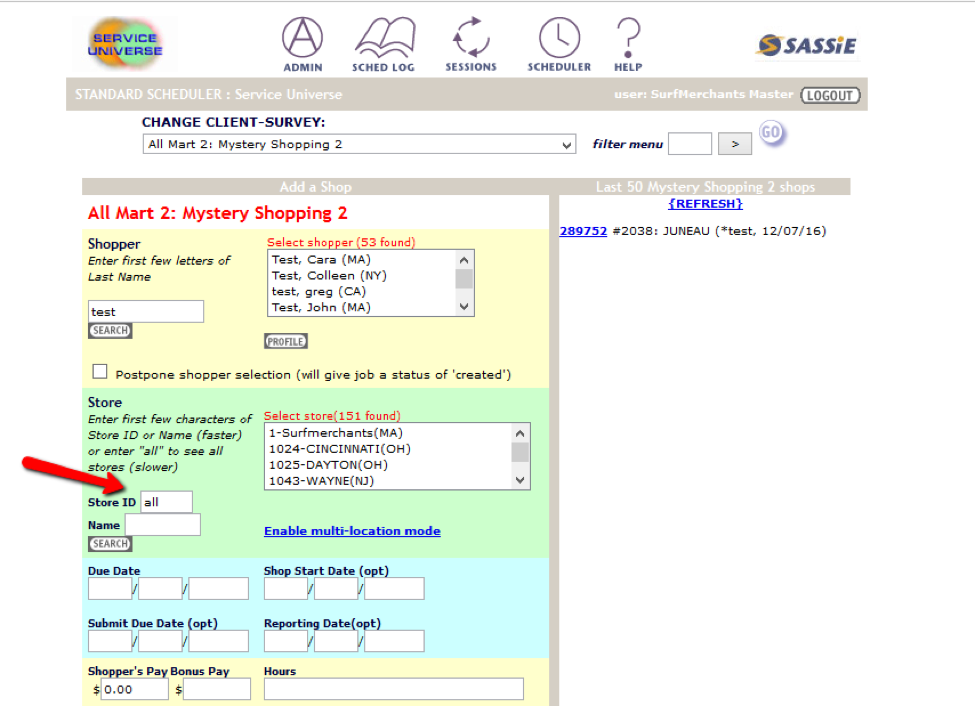
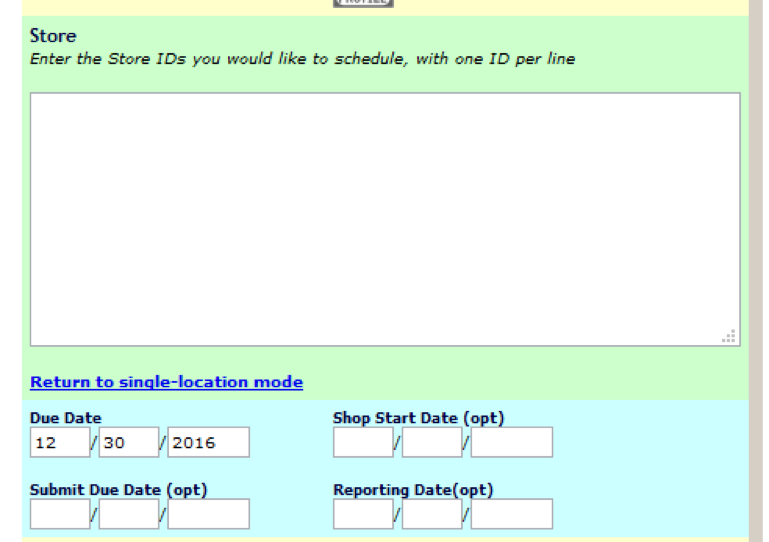
To schedule multiple locations to one shopper, select the Enable multi-location mode link.
If using this means of scheduling you must know the Location ID’s for the locations you want scheduled. This will create a shop for each location.
Once the location has been selected, input the Due Date. Due Date is the only date field that is required. This is the last day the shopper can submit the shop.
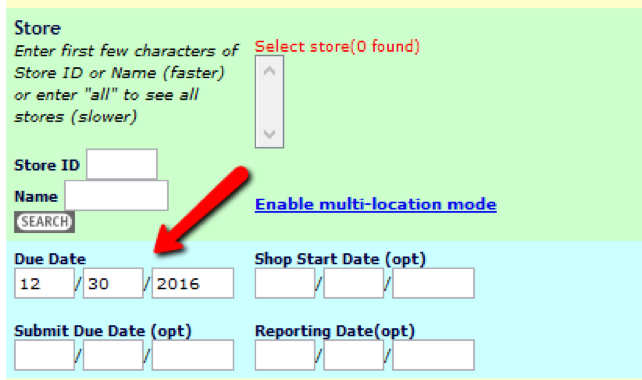
The Shop Start Date, Submit Due Date and Reporting Date fields are all optional.
Shop Start Date is the date on and after which the shopper can visit the shop. The shop cannot be done before this date.
Submit Due Date is the date by which the shopper must submit the fully completed survey for the shop
Reporting Date is the date used when reporting the end results to the client. It overwrites all other dates for reporting.
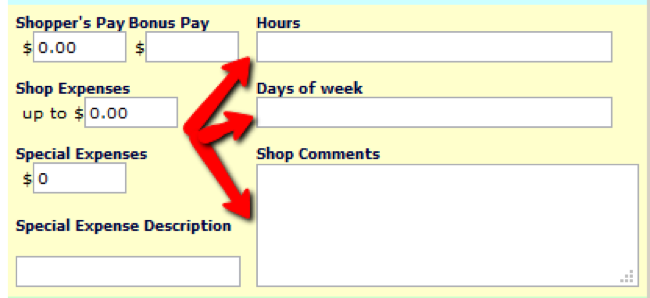
The Shopper’s pay and expenses established in the Survey Settings should be displayed. If they need to be changed it can be done here.

Other information regarding the location of the shop may be input here as well.
If the shop is be a part of a Wave, you can select the wave. (For more information on Waves see the Help video or Article)

Once all the data has been input, select Add New.