0%

1) Select the Client Survey.
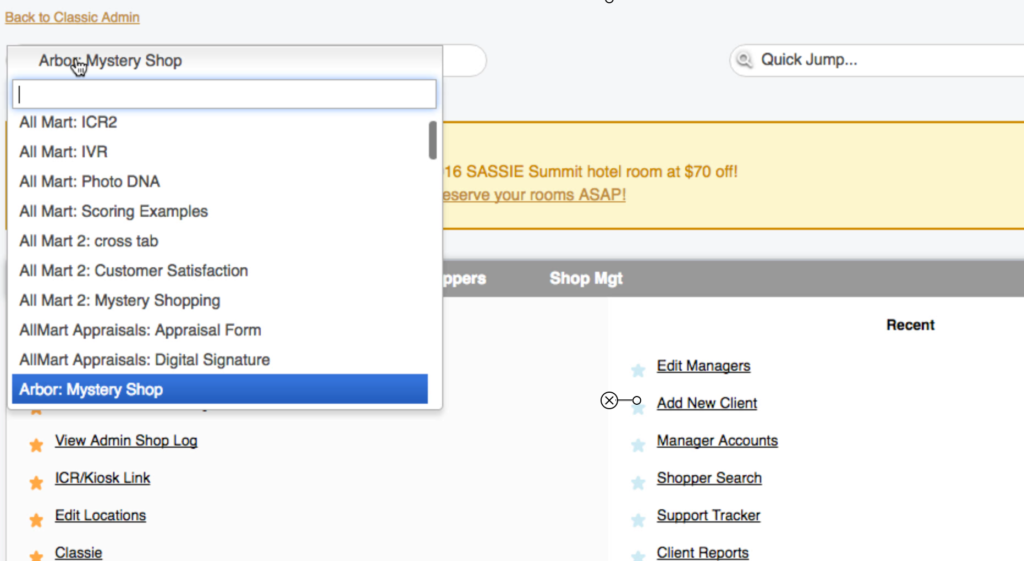
2) Select the Clients tab.
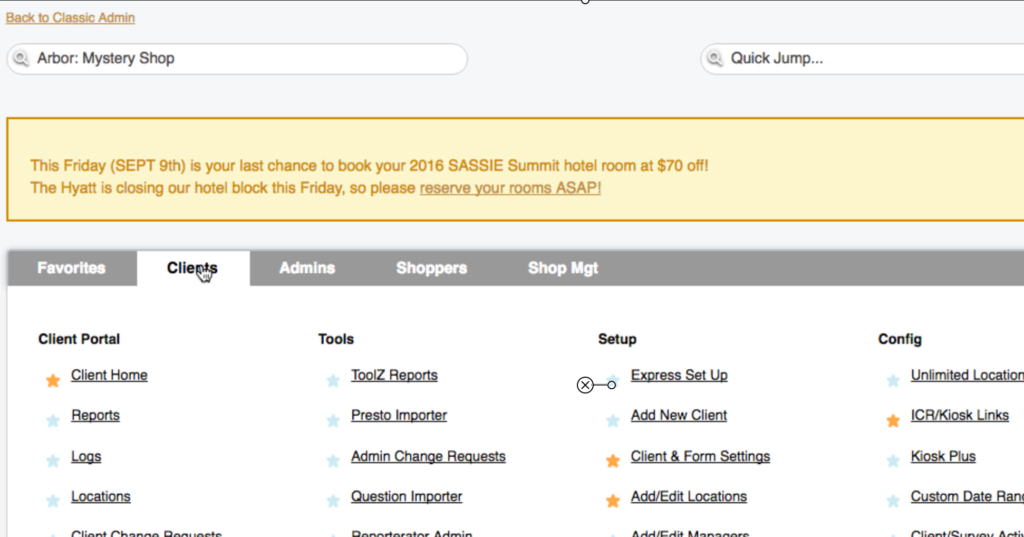
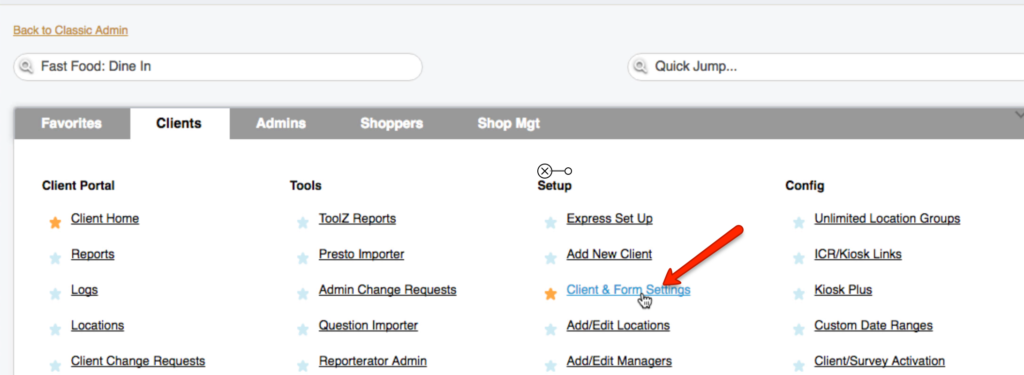
3) Select Client and Form Settings. The settings for all surveys under this client will be displayed.
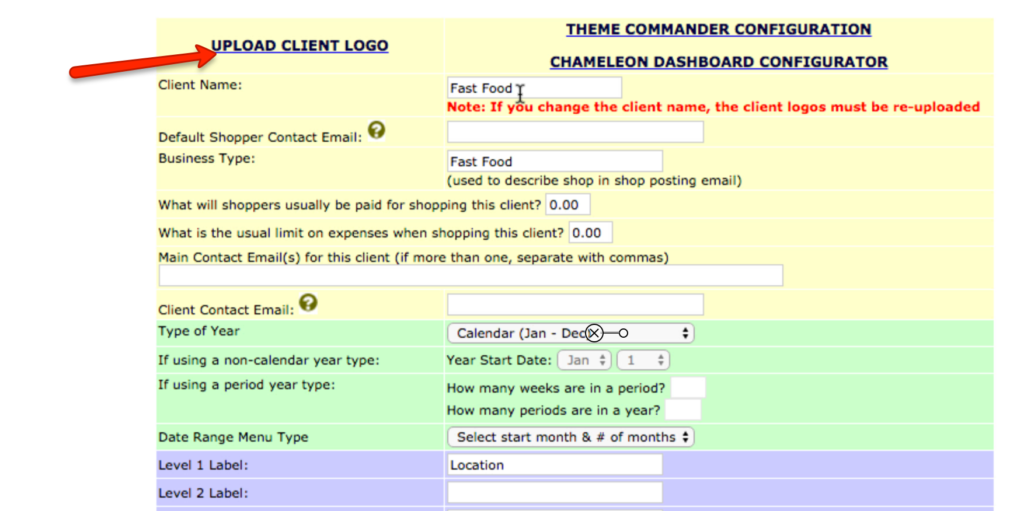
4) Client Name is visible. The Client Logo can be uploaded here by selecting Upload Client Logo.
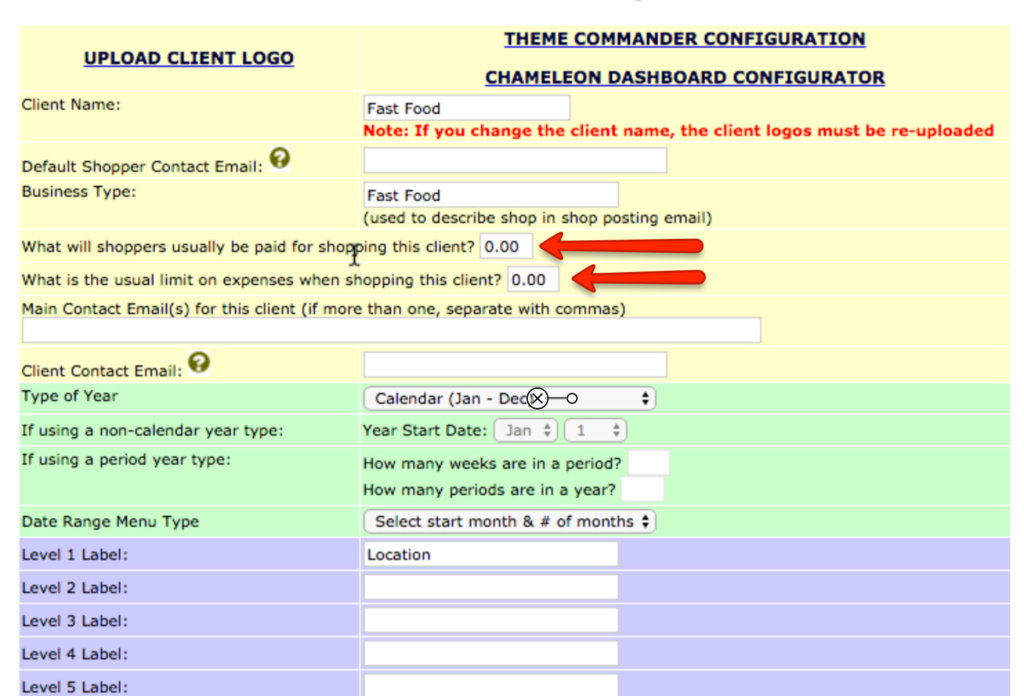
5) Default Shopper Pay and default Shopper Expense Limit can be set here. These can be changed for individual surveys on the settings page of each survey.
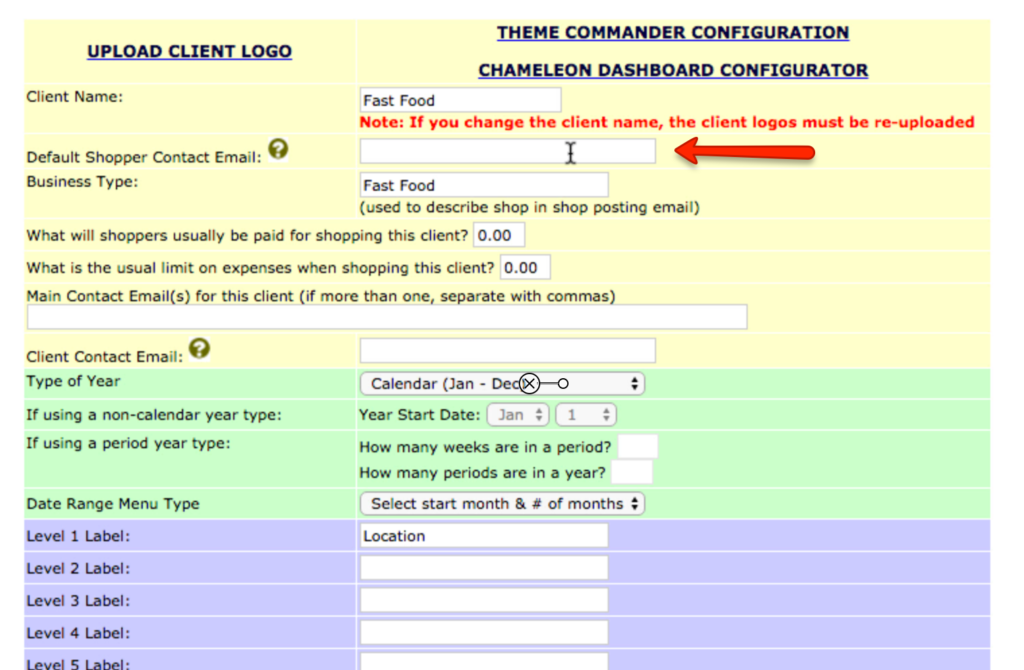
6) The Default Shopper Contact Email is used for Shoppers to communicate with the scheduler.
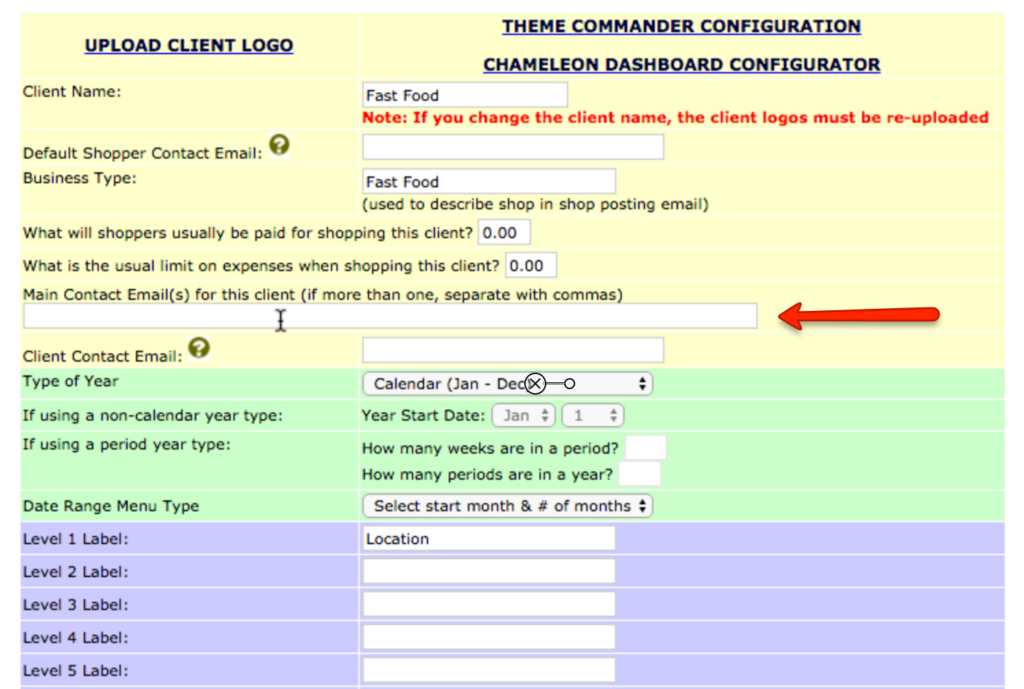
7) The Client email address can be entered. These email addresses will receive triggers when the Company box is checked off under the Manager Triggers section of Survey Settings.
8) Set your date requirements for the Client in the date fields.
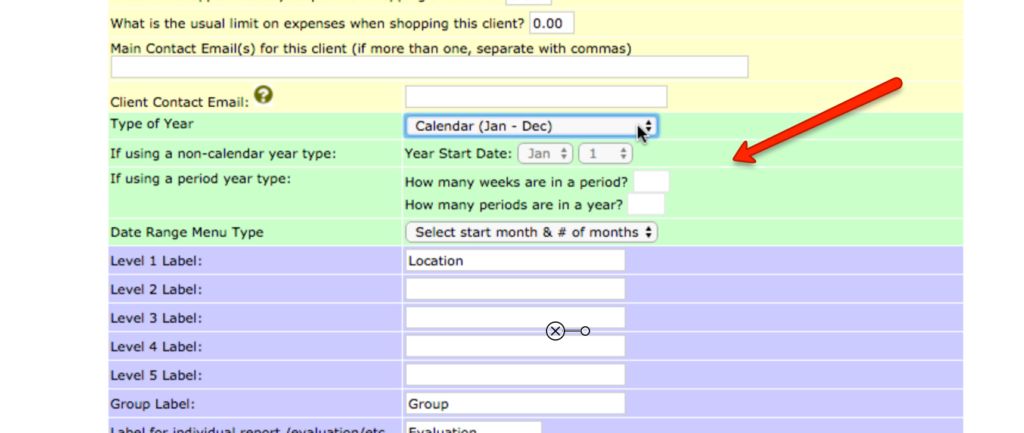
9) Input labels for reporting. Level 1 is the target – what is being shopped and is most times a physical location.
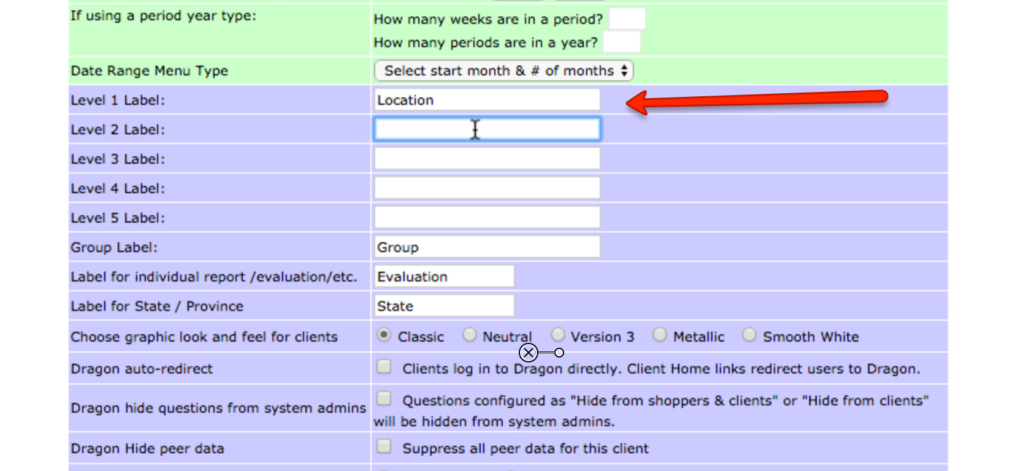
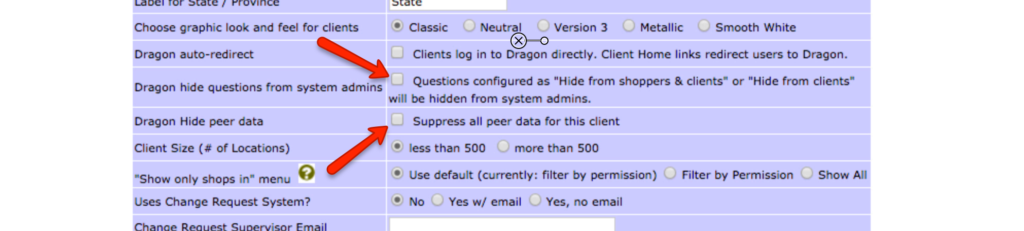
10) Dragon auto redirect redirects clients to Dragon after login.
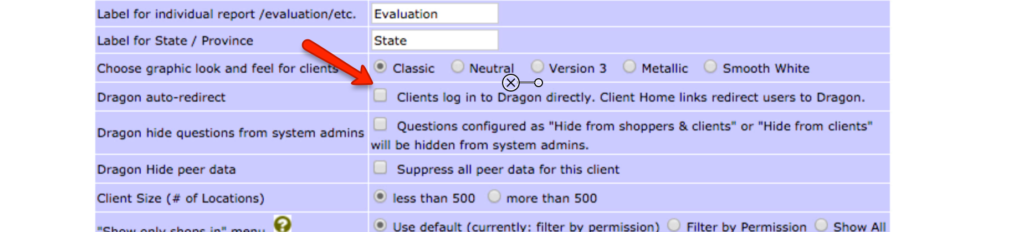
11) Dragon Hide questions and Dragon Hide Peer Data controls what data is displayed in reporting.